Your rates are the backbone of your practice. You set them up in two steps: first you create your modalities (your session types) and then you price them. Once done, the amount is filled in automatically when you book, when you charge through Stripe and in your accounting and invoices.
In short
Everything is configured in the Admin Panel, in the Catalog block. Start with Modality Management (create your session types) and then move to Price Catalog (set price and duration). Order matters: modality first, price after.
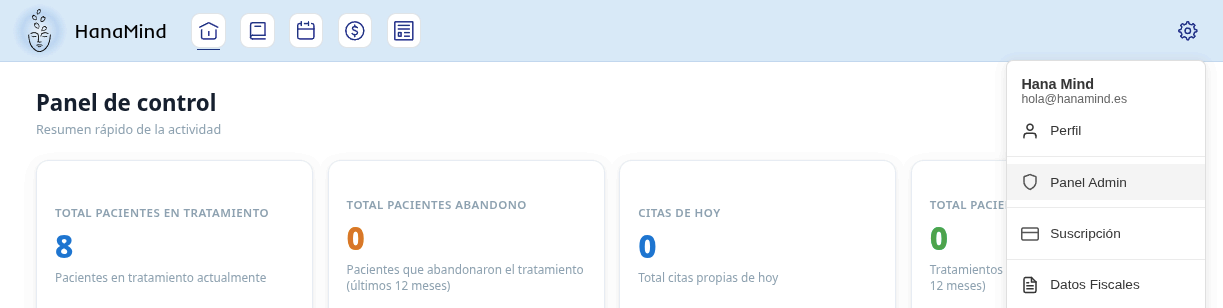
Go to settings and open the Admin Panel
Click the settings icon (⚙) in the top right and choose Admin Panel.
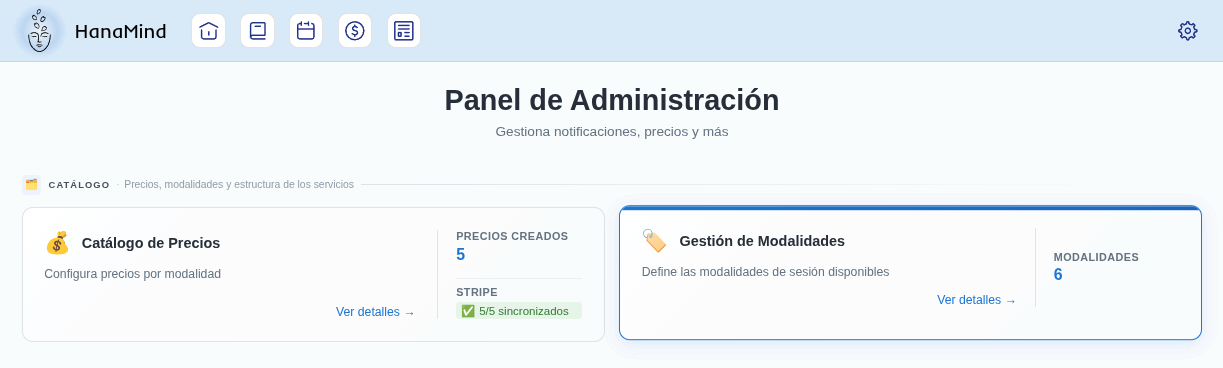
Start with 'Modality Management'
Inside the Panel you'll see several cards. In the Catalog block, first open Modality Management: this is where you define the session types you offer.
Create your modality and choose how many people take part
Type the name of your modality. Right next to it there's a dropdown that sets the number of people who can take part in the therapy. It's not a minor detail: it determines the type of consent that will be signed.
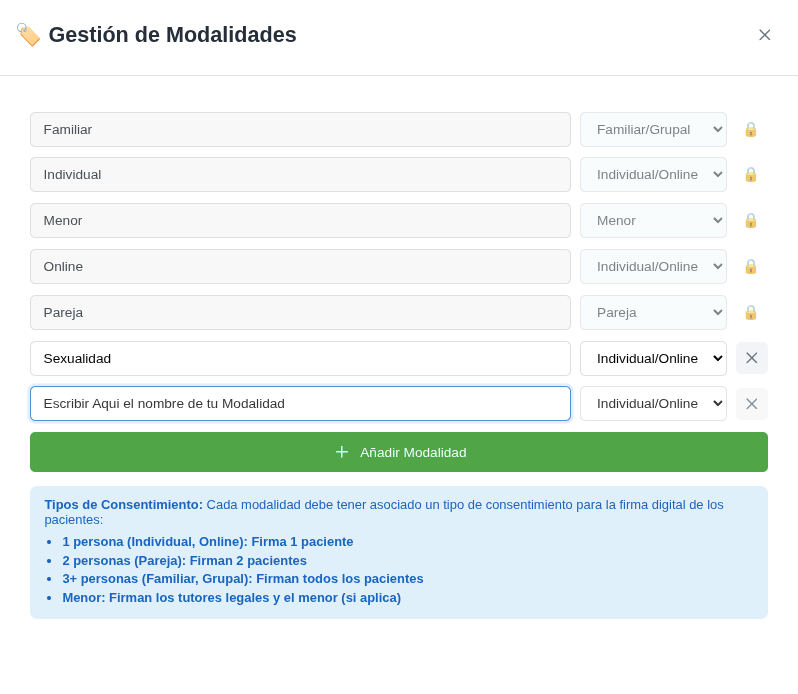
Each modality carries its own consent
Depending on the number of people, the consent changes:
- 1 person (Individual, Online): 1 patient signs.
- 2 people (Couple): both patients sign.
- 3+ people (Family, Group): all patients sign.
- Minor: the legal guardians and the minor sign (if applicable).
You start with a few basic modalities already created (they show a padlock). If you don't use them, no problem: they're there as an example so you see how it works. When you're done, click Add Modality.
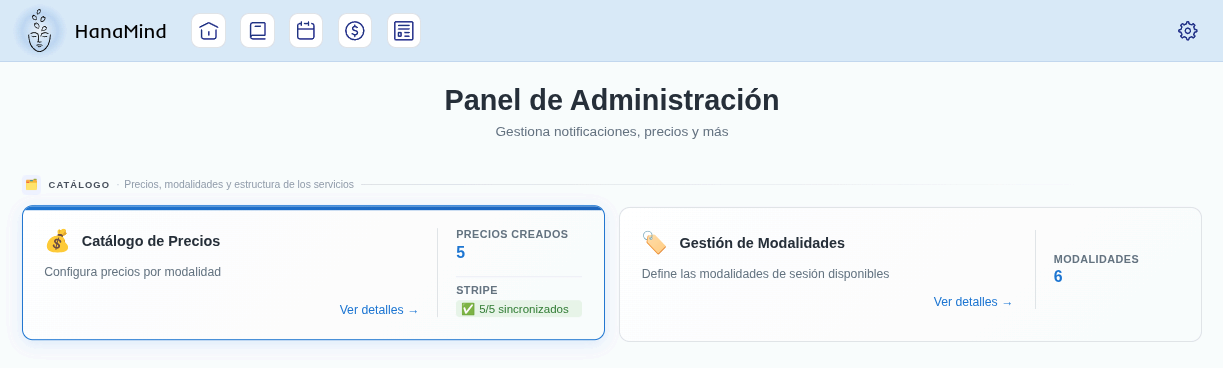
Go back to the Panel and open 'Price Catalog'
Leave the modalities and, in the same Catalog block, open Price Catalog. Here you set the price for each modality you've just created.
Set your durations and click 'Add Price'
At the top, under Consultation Durations, you have pills with the times (30 min, 45 min, 1 h…). Click the + to add the durations you use. Just below, the green Add Price button lets you create a rate: you pick modality, duration and price.
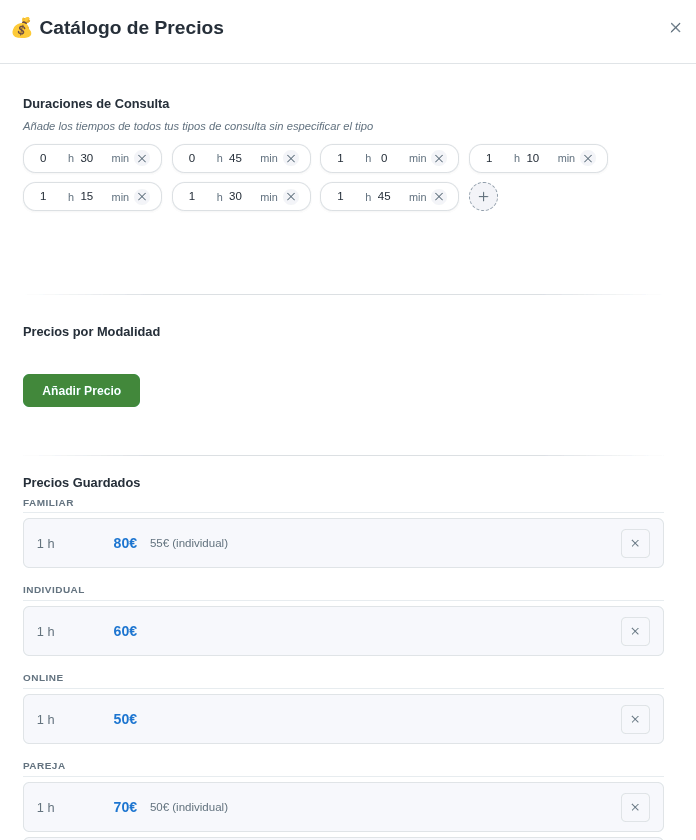
Set the price (and the dual price for multi-person modalities)
Fill in the rate and click Save. Watch out for this! Modalities with more than one person can have two prices: the regular price (when they come as a couple or group) and the individual price (only one spouse), for when that person comes to the session alone. All other modalities carry a single price.
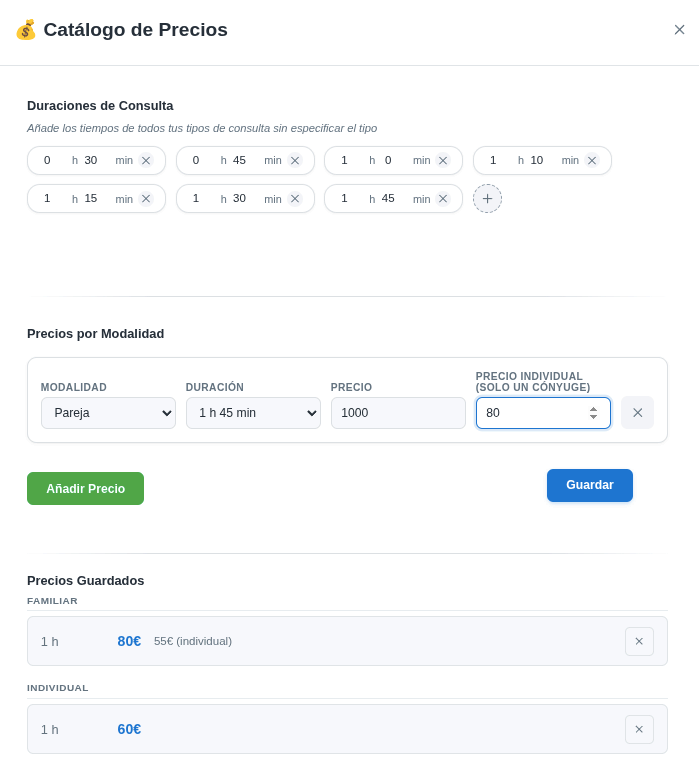
Below, under Saved Prices, you see everything you've configured so far. You can save several prices per modality with different durations (for example, Individual at 1 h and at 45 min with different prices).
And it applies across the whole app
With your rates ready, when you book an appointment and pick the modality and duration, the price fills in automatically on the booking. If the patient pays via Stripe, that amount appears for them; and in your accounting and your invoices those prices are saved automatically.
Stripe sync
If you already have Stripe active, every price you create is set up in your Stripe account in a minute or less. Don't have it active yet? No worries: as soon as you turn it on, all your prices are linked at once, automatically.