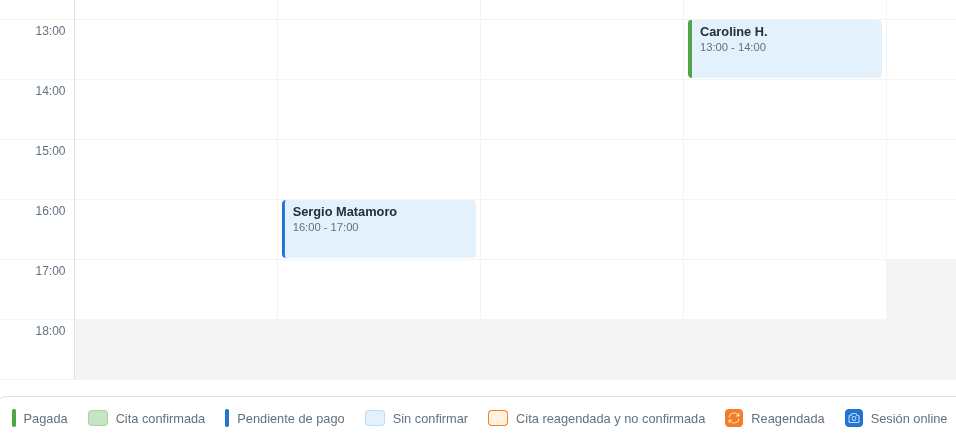
If your patient hasn’t paid for an appointment yet, you can request payment from the appointment details. There’s a Payment QR button that works if you have Stripe turned on.
In short
Open the appointment details and click Payment QR. If the patient is in your office, they scan the code with their phone. If not, click Send by email or Copy link and send it however you prefer.
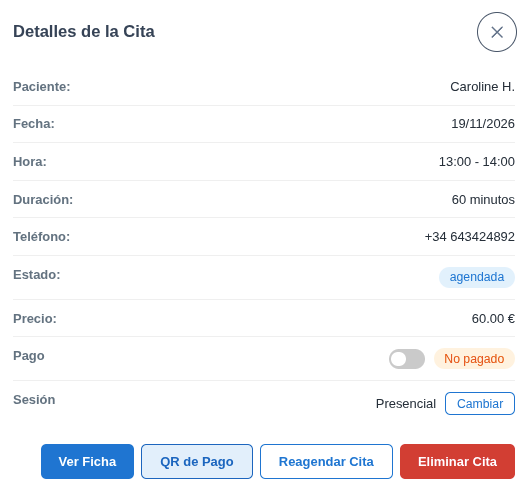
Open the appointment details
Go to the calendar and open the appointment you want to charge for. At the bottom of the details you’ll see the Payment QR button.
If they're in your office: let them scan the QR
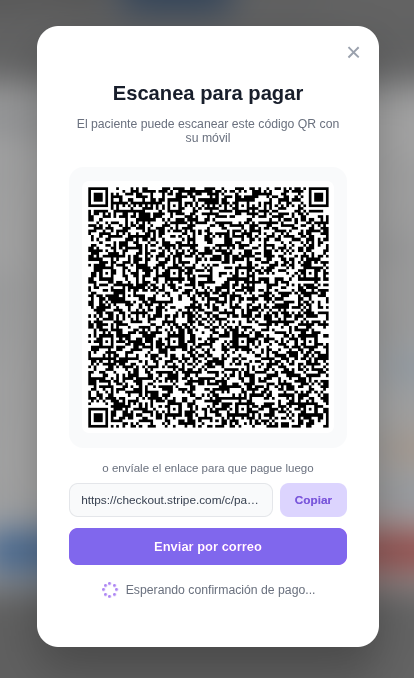
Click Payment QR. The Scan to pay window opens: the patient scans the code with their phone and pays through Stripe.
If they're not in your office: send them the payment
If the patient isn’t in your office, you can charge them before, during or after the session. The same window gives you two options:
- Send by email: HanaMind emails them the payment link with one click.
- Copy: you copy the payment link and send it however you prefer, such as WhatsApp or SMS.
If you send it by email, it’s logged on your dashboard, in Notifications from Monday to Sunday → Invoicing tab, as Payment reminder. Once the patient pays, the payment button disappears from that appointment.
Check that the appointment is paid
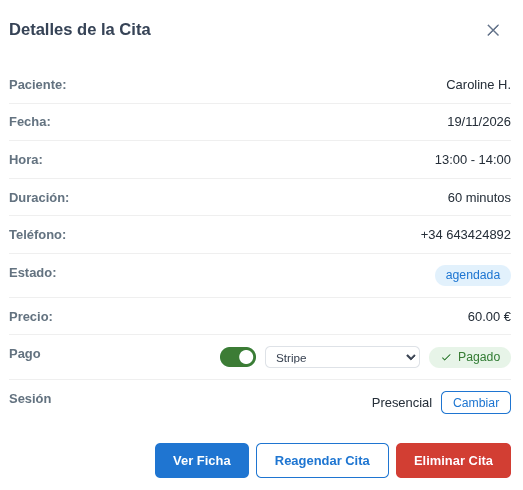
Once paid, the appointment shows as paid in its details and also in Accounting. In the calendar, the appointment bar turns green.
Reminder: how it's marked as paid
If the patient pays through Stripe, the appointment is marked paid automatically. If they pay another way (for example, in cash or by Bizum), it isn’t marked automatically: mark it yourself with the Payment switch.
Calendar legend
If you’re not sure what an appointment’s colour means, check the calendar’s legend: it explains each colour, including Paid.